Templates Overview
Templates are the starting point for your designs in Beadessa. Think of them like a “project setup wizard”… you choose the type of project you want to make, set your size/material options, and Beadessa builds the design grid for you.
This page is a general overview of what the template settings mean and how they affect the project you are about to generate. The goal is to help you understand what each option does before you click the button to create a project, so you can pick the right bead type, choose the right template shape, and confirm the size and bead count up front. Once you get familiar with these settings, starting new projects becomes much faster since you will know exactly what to adjust depending on the style and size you are aiming for.
Where to find Templates
Templates live inside the Projects sections (like Earring Projects and Loom Projects), and each project type includes one or more template options you can choose from depending on what you want to design. Think of these templates as “starter projects” that already include the correct structure for that style, so you are not building everything from scratch.
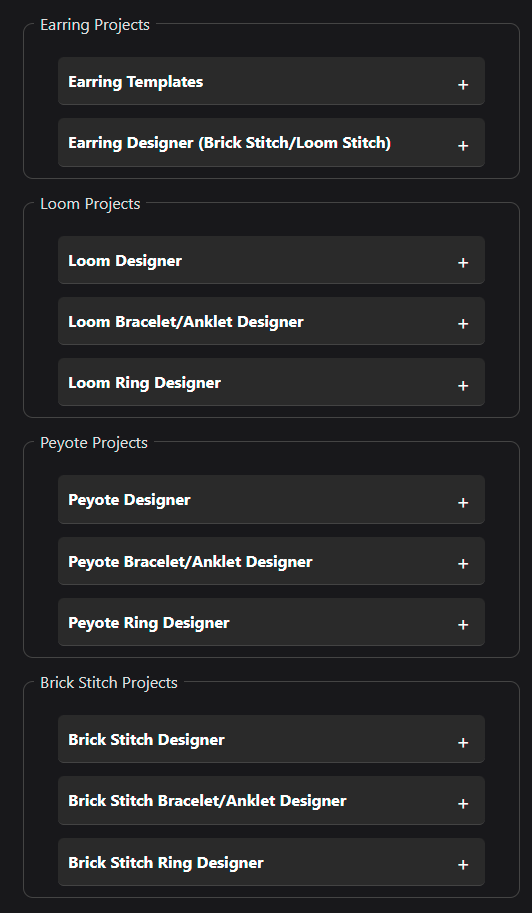
When you expand a template, Beadessa shows the settings that control how that project will be generated, such as the bead type, template shape, and size details. Once you have the options set the way you want, you click the button at the bottom to create a brand-new project based on that template, and then you can jump right into designing.
What the Template Settings Do…
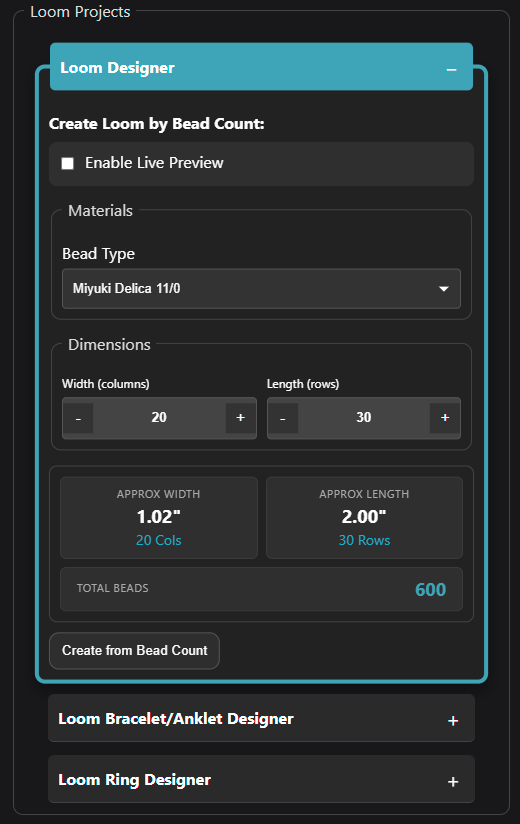
Here’s what you’ll typically see inside a template (example: Loom Designer).
When you open a template, you’ll get a set of controls designed to help you shape your project without feeling overwhelmed. Think of this area as your “template dashboard”. It’s where you choose your layout, adjust sizing, and fine-tune how your design behaves as you build.
Each template has its own set of options based on what you’re creating, but the goal is always the same: make it easy to get started fast, then give you the flexibility to dial things in as you go. For example, in the Loom Designer you’ll typically see settings that let you control the grid style, project dimensions, and how the pattern is displayed, all in one place.
If your brand new, don’t worry, you don’t need to change everything. Most people can start designing right away using the default settings, then come back to these controls later when they want to refine the fit, spacing, or overall look of the pattern.
1. Enable Live Preview
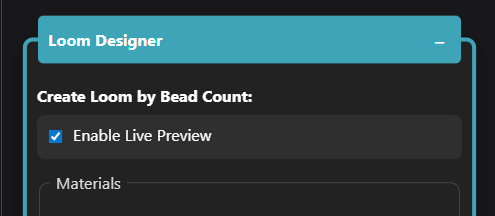
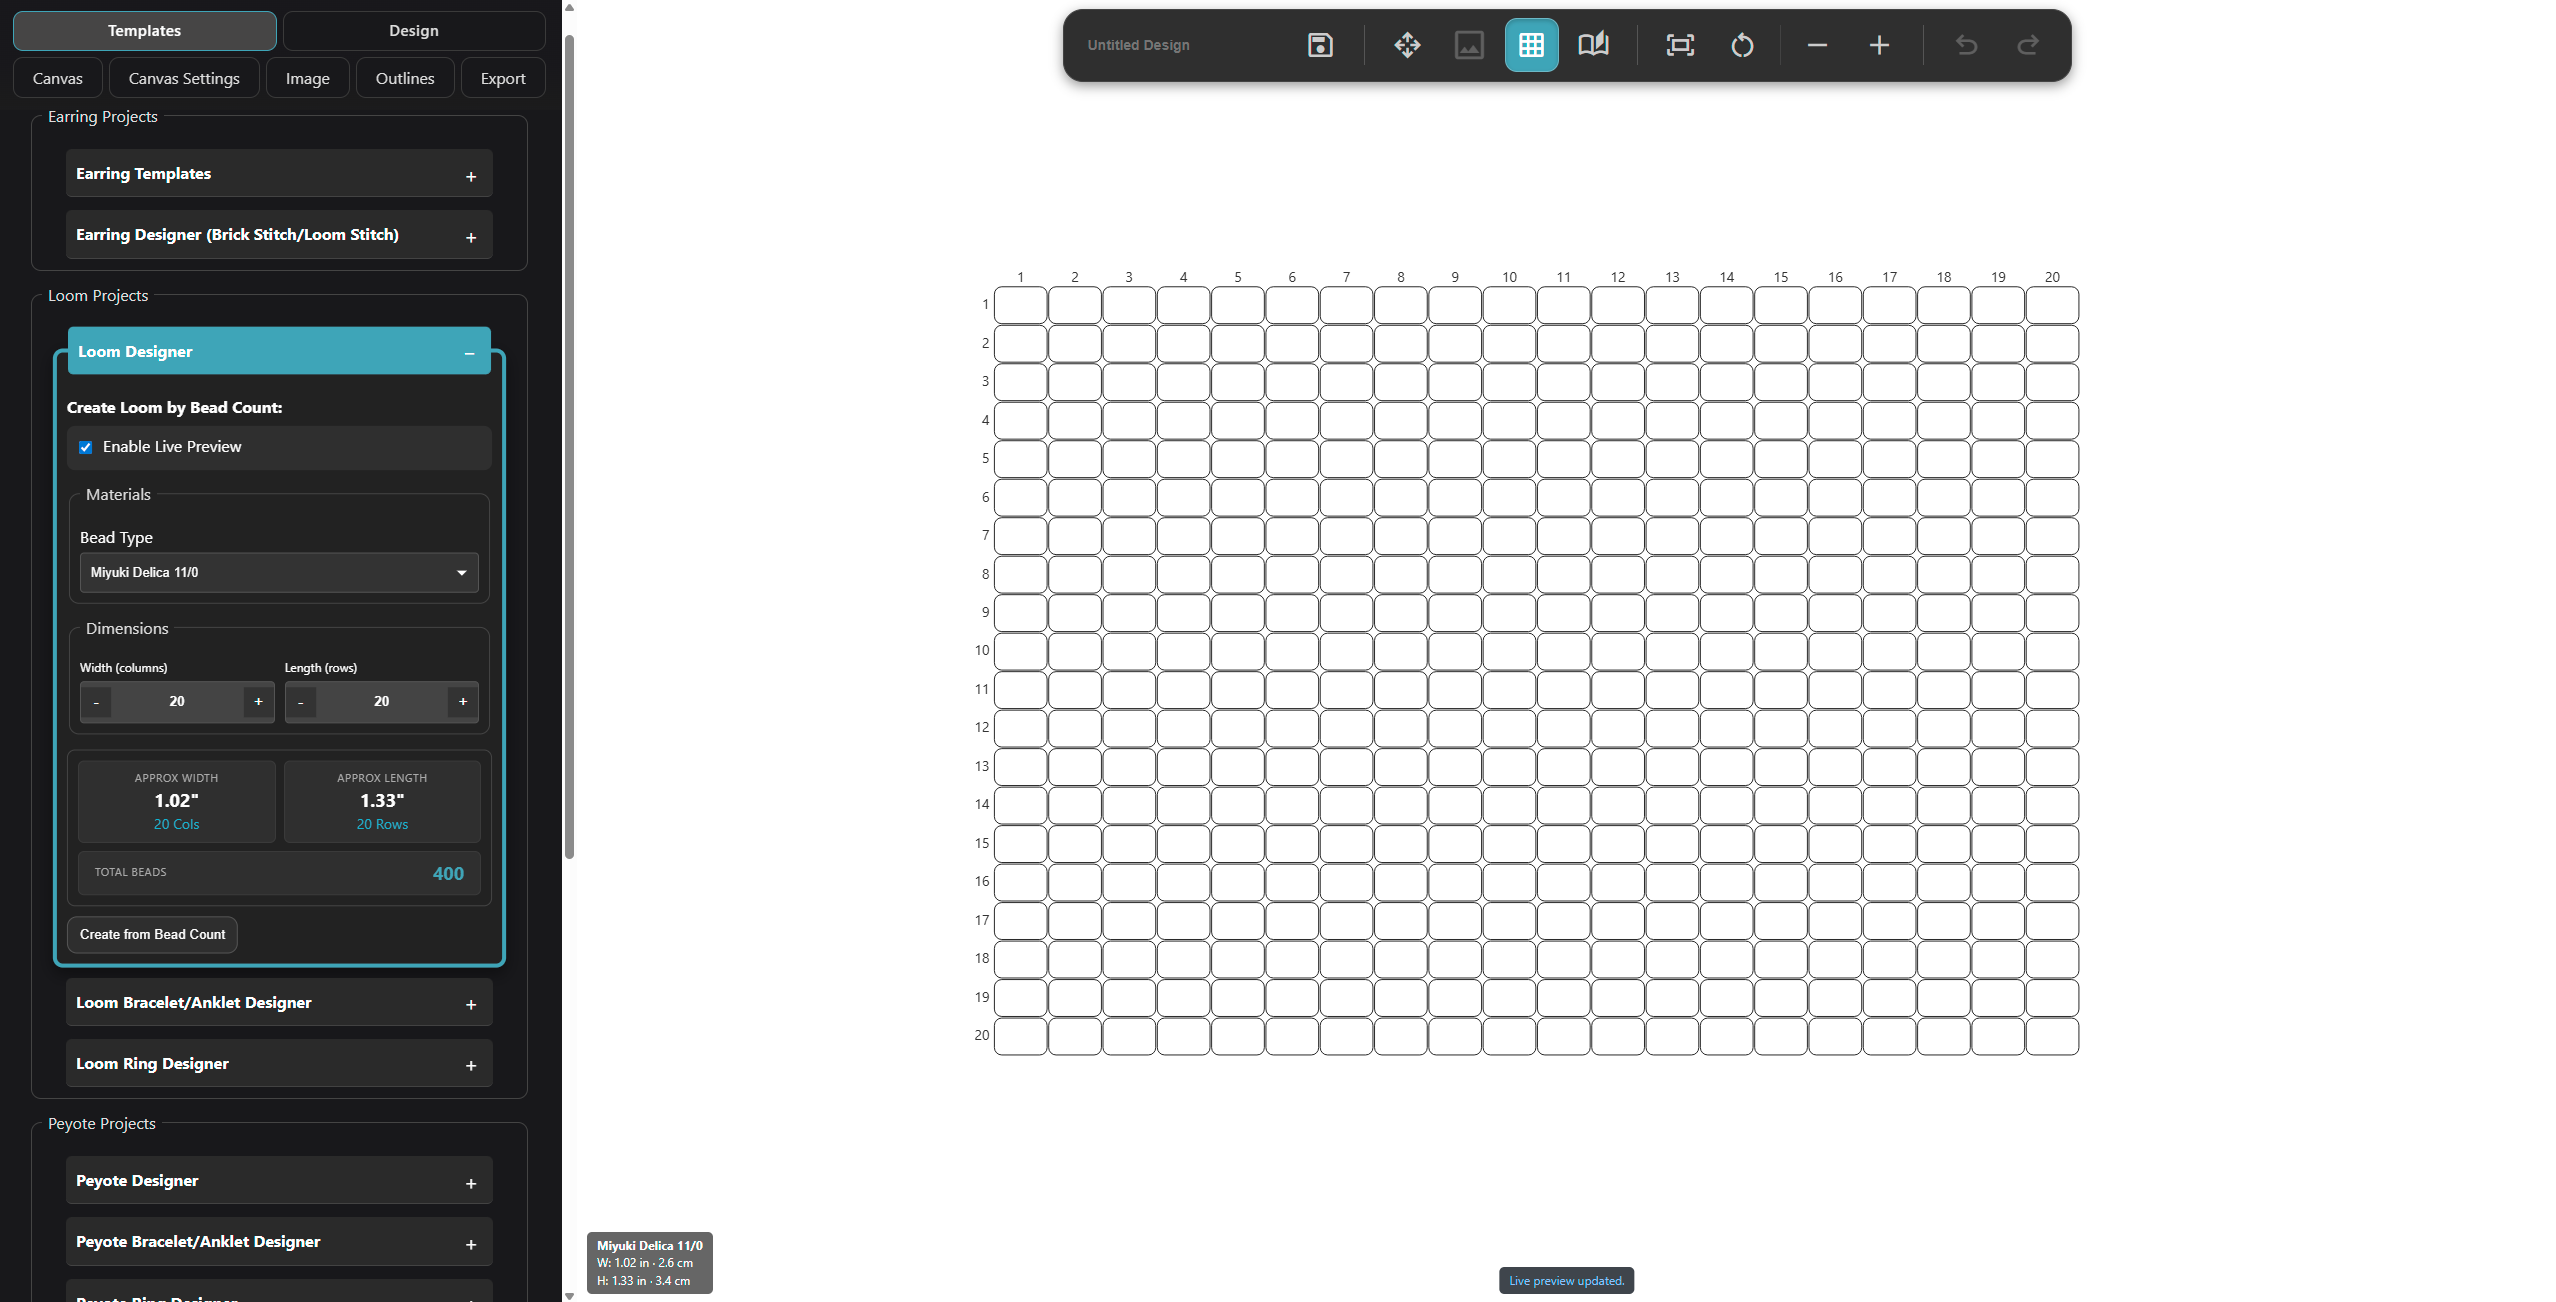
When Enable Live Preview is turned on, Beadessa updates the template results as you change settings—so when you adjust bead type, width, or length, the size estimates and bead totals update instantly. It’s great for dialing in a design quickly without guessing.
If you notice any lag (especially on older phones/laptops), turn it off while you’re choosing your settings. You can still adjust everything normally. Beadessa just won’t “live-update” every change until you’re ready to create the project and click the create canvas button, that’s all.
2. Bead Type
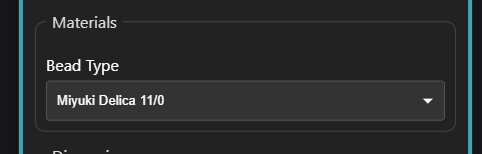
This dropdown tells Beadessa what kind of bead you’re designing with (example: Miyuki Delica 11/0). Think of it as your “material preset”, which you’re essentially telling the app what bead shape and size you plan to use, so everything else can line up more accurately.
What it affects
- Size estimates (inches / real-world measurements): The Approx Width and Approx Length values are calculated using the bead type you select. Since different beads have different dimensions, choosing the right type helps your size estimates stay realistic.
- How the project scales in the Studio: Some beads are slightly taller, wider, or more uniform than others. Beadessa uses your bead type to keep the grid’s proportions looking correct, so your design doesn’t feel “stretched” or “squished” when you’re working.
- Planning for fit and finish: If you’re designing something wearable (earrings, bracelets, rings), this setting helps you get closer to the real finished size before you start stitching which can save a lot of trial and error.
What it doesn’t do
- It doesn’t lock you into one bead forever: This dropdown isn’t a permanent commitment. You can still swap to another bead type later if you want. The main purpose is to make sure your layout and size estimates match what you intend to use.
- It won’t automatically change your design style: Your colors, pattern, and overall design choices are still fully up to you, the bead type simply helps the app estimate scale and keep things proportional.
Tip: If your project needs to fit a specific size (like earrings that can’t be too long), choose your bead type first, then adjust your width/length. It’s the easiest way to get accurate measurements right from the start.
3. Width (columns) and Length (rows)
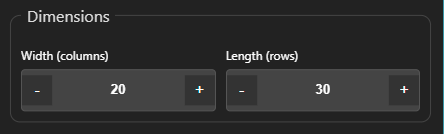
Width is the number of beads across your design (left to right). It controls how wide your grid is.
- Use the minus (-) and plus (+) buttons to adjust it.
- Bigger width = more space for details, patterns, and shapes.
- Smaller width = quicker projects and simpler designs.
Length is the number of beads down your design (top to bottom). It controls how tall/long your grid is.
- Use the minus (-) and plus (+) buttons to adjust it.
- Longer length = more room for taller designs, longer patterns, repeats, gradients, etc.
- Shorter length = faster to finish and easier to test ideas.
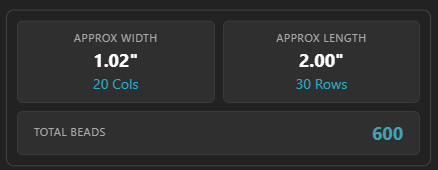
4. Size estimates (Approx Width / Approx Length)

The Approx Width and Approx Length boxes give you a quick real-world size estimate so you can design with an end goal in mind, instead of guessing and hoping it turns out the right size. As you change settings, these numbers update automatically based on your selected bead type and the template’s grid dimensions, meaning the width (columns) and length (rows) of the design. In other words, Beadessa is taking the template layout and translating it into an estimated measurement you can actually picture in your hand, based on these:
- your selected bead type
- your width (columns) and length (rows)
This is especially helpful when you’re trying to hit a specific target, like making something “about 1 inch wide,” “around 2 inches long,” “small enough for a charm,” or “long enough for a bracelet panel.” Instead of building a full design and realizing it is way too big or too small, you can adjust your template choice or bead type up front until the size estimate is in the range you want.
Tip: These are approximations, not perfect guarantees. Final size can shift slightly depending on thread choice, tension, edging, clasp style, and how you finish the piece, especially on projects with fringe where the drape and spacing can vary a bit once it is worn.
5. Total Beads
This number is the total bead count in your grid, or in other words, the maximum number of beads your design could use based on the size you selected. It represents how many bead “spots” (cells) exist in the grid.
Think of it like counting the squares on graph paper: if the whole grid were filled, that’s exactly how many beads your finished piece would contain. Even if you leave areas blank or use negative space in your design, this number still helps you understand the overall size and scale of the project.
Total Beads = Width × Length
So if your design is 20 beads wide and 30 beads long, your total bead count would be 600 beads.
It’s useful for:
- Estimating how many beads you’ll need and great for planning colors, ordering supplies, or checking what you already have in your stash before you start.
- Quickly comparing design sizes: It makes it easy to spot the difference between projects at a glance:
“This one is 600 beads… that one is 1,200 beads.” - Getting a feel for time and effort… More beads usually means more stitching, more color changes, and a longer build time, so it’s a helpful way to estimate how big of a project you’re taking on.
- Planning your pattern layout: Knowing the total bead count can help you think ahead about how many colors you’ll be using and how detailed your design can realistically be at that size.
Tip: Total beads is a great “complexity meter” when you’re choosing between sizes. If you want a quick weekend project, go smaller. If you want something more detailed (and don’t mind the extra time), a higher bead count gives you more room to work.
6. Create Button (Create from Bead Count)

Once your settings look right, click Create from Bead Count to generate your project grid using exactly what you selected. As soon as you click it, the app builds your grid and takes you straight to the Design tab so you can start working immediately. You do not have to click the button in order to design though and can instead navigate to any other tab and the design in the canvas will stay active, as long as the live preview box is checked.
After that:
- Your grid is created in the Studio
- You can start placing colors, testing layouts, and designing normally
- You can fine-tune your design as you go (swap colors, shift patterns, try new ideas, etc.)
Tip: If you’re unsure about the size, it’s totally fine to create a smaller version first as a “test grid.” Once you like the idea and the layout feels right, you can come back and generate a larger version or use the grid resizer tool.
